






Your Complete Guide to the HigherDOSE Healthy Hair Ritual: How to Use the Scalp Serum, Derma Stamp + Red Light Hat
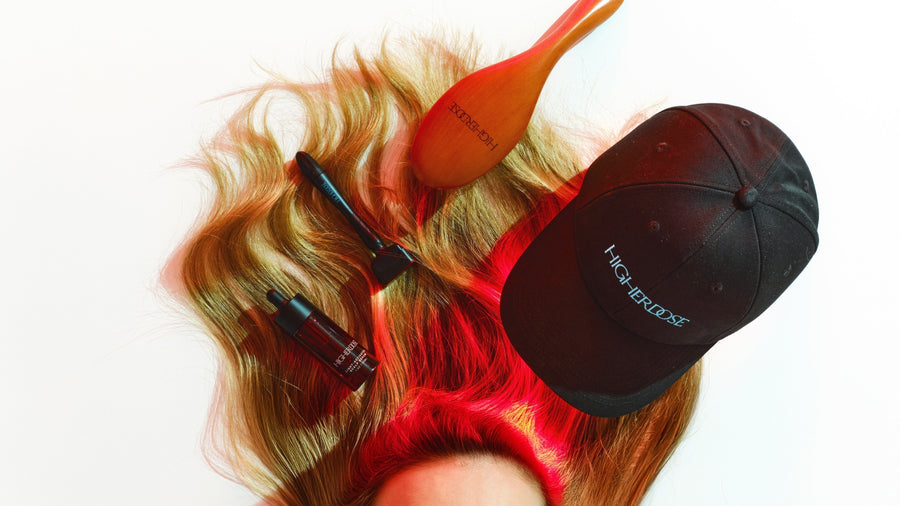
Great hair doesn’t start with the right shampoo. It starts at the scalp. The Red Light Hat has always been about that — working at a cellular level to support scalp health from the inside out. The Healthy Hair Ritual Set was built to take everything the Hat already does and amplify it: a complete system of tools and topicals that turns a powerful single step into a full ritual. Here’s exactly how to use it. In this guide, you’ll learn how to use a derma stamp for hair growth, how to apply the Light-Activated Scalp Serum, and how to finish with the Red Light Hat — the complete Healthy Hair Ritual, step by step.
Meet the System
Before we get into the how-to, a quick intro to the four players and what they each bring to the ritual.
-
Light-Activated Scalp Serum — This is the hero. A weightless, leave-in formula built on clinically studied bioactives like Copper Peptide GHK-Cu and plant stem cell extracts (the science behind these ingredients), plus centuries-old botanicals like rosemary and ginseng. What makes it different? The key actives are light-responsive — meaning they’re specifically formulated to perform at their best under red light.
-
Scalp Derma Stamp — A precision microneedling tool that creates micro-channels in the scalp, supporting the skin’s natural renewal process and helps the serum absorb deeper and more effectively. More on this below, because it deserves its own section.
-
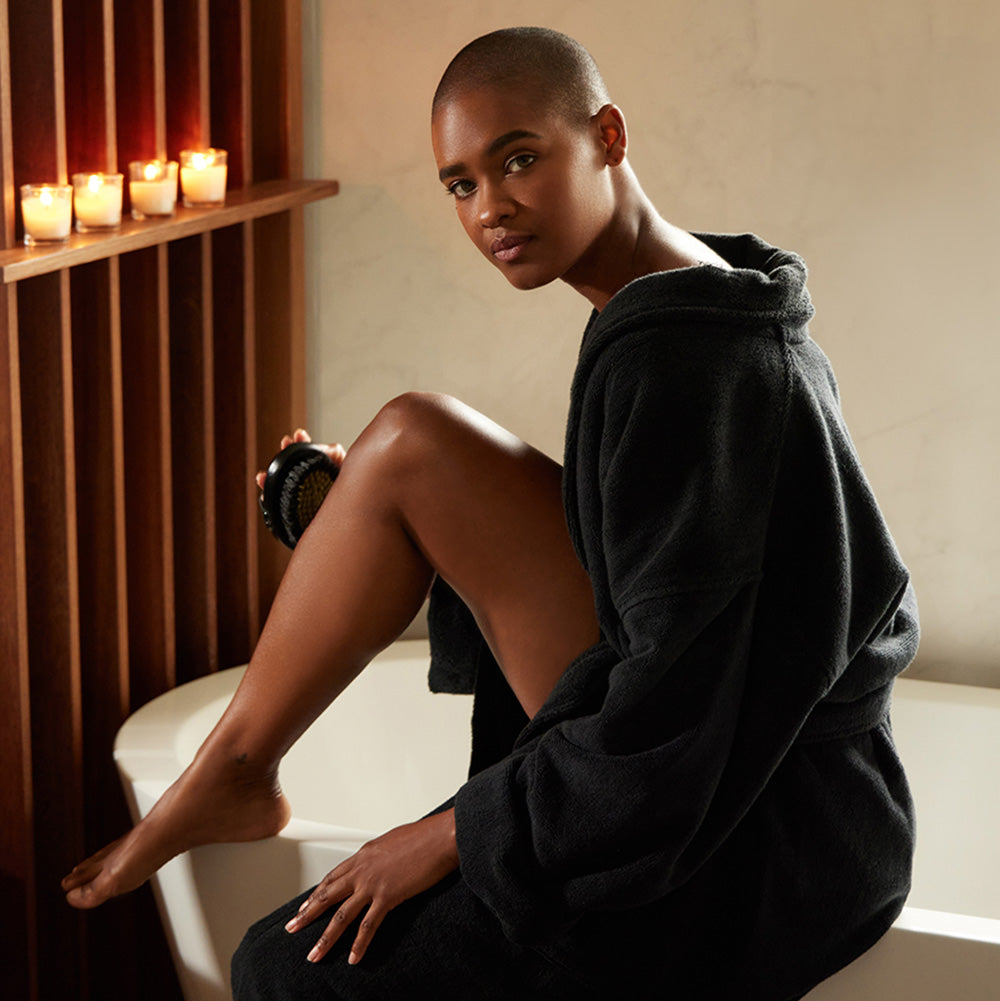
Acupressure Hair + Scalp Brush — Rooted in traditional scalp massage practices, this brush supports circulation and helps work the serum into the scalp on non-stamp days. It also just feels incredible.
-
Red Light Hat — The finishing step that ties the whole ritual together. Red light therapy supports scalp health at a cellular level, and when you pair it with a serum specifically formulated to complement it, that’s where the magic happens. (how red light therapy supports hair growth)

OK but — WTF is Derma Stamping? Scalp Microneedling for Hair Growth, Explained
In short, a derma stamp for hair growth is a handheld microneedling tool you press into the scalp to help your serum absorb more deeply and stimulate the scalp’s natural renewal.
Fair question. Derma stamping sounds intense, but it’s simpler (and less scary) than it sounds.
The Scalp Derma Stamp is a tool covered in tiny micro-needles that, when pressed into the scalp, create microscopic channels in the skin’s surface. These channels don’t hurt — think of it more like a light tingling sensation — but they do something really useful: they temporarily open up pathways that allow the serum to absorb more deeply than it would on its own.
Wondering about a derma stamp vs. a derma roller? A stamp presses straight in and lifts straight out, which is gentler on the scalp and less likely to tug at hair than a roller’s dragging motion — that’s why we built this ritual around a stamp.
Think of your scalp like soil before it rains. You can pour water on packed, dry ground and watch it run right off — or you can till the soil first so it actually absorbs. The derma stamp tills the scalp.
There’s another benefit worth calling out: the micro-stimulation from stamping also triggers the scalp’s natural renewal process. Your skin responds to that stimulation by ramping up its own repair and regeneration — which means you’re not just improving serum absorption, you’re also nudging the scalp toward a healthier baseline over time.
A couple of things worth knowing before you start:
-
Always stamp on a clean scalp. You don’t want to be pushing anything into those micro-channels that shouldn’t be there.
-
Press, never drag. Lift and press in sections. Dragging the stamp can cause unnecessary irritation.
-
Sanitize your tool every time. Before and after each use, swipe the stamp with 70% isopropyl alcohol. It takes ten seconds and it matters.
-
Replace the stamp every 8–10 uses. The micro-needles dull over time and a dull stamp is less effective and less hygienic. Every bottle of our serum includes a fresh stamp.
-
Some redness is normal. Especially when you’re first starting out, you may notice some temporary redness after stamping. That’s your scalp responding to the stimulation — it fades quickly and is a sign the tool is doing its job.
Used correctly, the derma stamp is one of the most effective ways to get more out of your serum. And once you get the hang of the technique, the whole process takes about two minutes.

The Full Ritual, Step by Step: How to Use Your Scalp Serum + Derma Stamp
Here’s how it all comes together. The ritual looks slightly different depending on whether it’s a stamp day or not — both versions work, and together they form a complete weekly routine.
Stamp Days (1–2x per week)
Step 1: Start clean. Begin on a freshly washed scalp. The stamp creates micro-channels, so you want a clean surface — no product buildup, no dry shampoo, nothing in the way.
Step 2: Sanitize and stamp. Wipe your Scalp Derma Stamp with 70% isopropyl alcohol and let it air dry for a few seconds. Section your hair and press the stamp along each part. Lift and press — don’t drag. Work your way across the scalp until you’ve covered the areas where you’re applying serum.
Step 3: Apply the serum immediately. Massage it in with your fingers, or use the Acupressure Hair Brush. (Honestly, once you’ve tried the brush you probably won’t go back to fingers). Don’t rinse. The serum is weightless and non-greasy, so you can style your hair as usual right after.
Step 4: Put on your Red Light Hat. Let the light-responsive ingredients do their thing. This is the step that takes a good ritual and makes it a great one.
Step 5: Sanitize your stamp again. Post-use sanitation is just as important as pre-use. Give it a wipe and let it dry before storing.
Non-Stamp Days (remaining days)
Step 1: Apply the serum. Apply the Light-Activated Scalp Serum along your hairline and part and massage it in. No rinsing needed — the formula is designed to layer into your routine without buildup or greasiness, so it works whether you’re fresh out of the shower or three days post-wash.
Step 2: Use the Acupressure Hair Brush. Work the serum into the scalp with the brush using circular motions. This kind of scalp massage supports blood flow to the follicles — an easy way to build scalp massage for hair growth into your day. This supports circulation, stimulates the follicles, and helps distribute the product — plus it genuinely feels like a little moment of self-care in your day.
Step 3: Put on your Red Light Hat. Same as stamp days — finish with red light to activate the serum’s light-responsive ingredients.

How Often to Use Each Product
|
Product |
Frequency |
|
Light-Activated Scalp Serum |
4–5x per week (daily if you like) |
|
Red Light Hat |
Every serum session |
|
Scalp Derma Stamp |
1–2x per week |
|
Acupressure Hair + Scalp Brush |
Daily, especially on non-stamp days |
The serum and the Hat are your daily anchors. The derma stamp is intentional and spaced out — your scalp needs a little recovery time between sessions, and spacing it out is actually part of what makes it effective. The brush can go in as often as you want it to.
Consistency Is Everything
Think of this ritual like working out. One session is great. A hundred sessions in a row changes your body. Hair works the same way — the actives in the serum are designed to support the natural growth cycle over weeks and months, not overnight. The people who see a real, visible difference are the ones who show up consistently: daily serum, regular red light, weekly stamping. Commit to the full system and your scalp will show it.
Ready to build your ritual?
-
Shop the Healthy Hair Ritual Set — Includes the Light-Activated Scalp Serum, Scalp Derma Stamp, and Acupressure Hair + Scalp Brush.
-
Don’t have a Red Light Hat yet? Shop the Red Light Hat Starter Kit — Everything above, plus the Red Light Hat. The complete system, one box.
Frequently Asked Questions
How do I use a derma stamp on my scalp?
Start on a clean, dry scalp and sanitize the stamp with 70% isopropyl alcohol. Section your hair and press the stamp straight into each part — never drag. Apply the Light-Activated Scalp Serum immediately, massage it in, and finish with the Red Light Hat.
How often should I derma stamp my scalp?
One to two times per week. Your scalp needs recovery time between sessions, and that spacing is part of what makes it effective. Use the serum 4–5x per week and the Acupressure Brush daily.
What’s the difference between a derma stamp and a derma roller?
A derma stamp presses straight in and lifts straight out, while a roller drags across the skin. On the scalp, a stamp is gentler and less likely to catch or pull hair.
Does microneedling help hair growth?
Scalp microneedling — what a derma stamp does — creates micro-channels that boost serum absorption and stimulate the scalp’s natural renewal, supporting a healthier environment for growth over time when done consistently.
Can I use the scalp serum without the derma stamp or Red Light Hat?
Yes. The serum works on its own, but the derma stamp boosts absorption and the Red Light Hat activates its light-responsive ingredients — so the full system delivers the best results.
How long until I see results?
Hair works on a cycle, so think weeks and months, not days. Consistency — daily serum, regular red light, weekly stamping — is what drives visible change.
Shop Hair Growth Essentials

Light-Activated Scalp Serum

Red Light Hat
